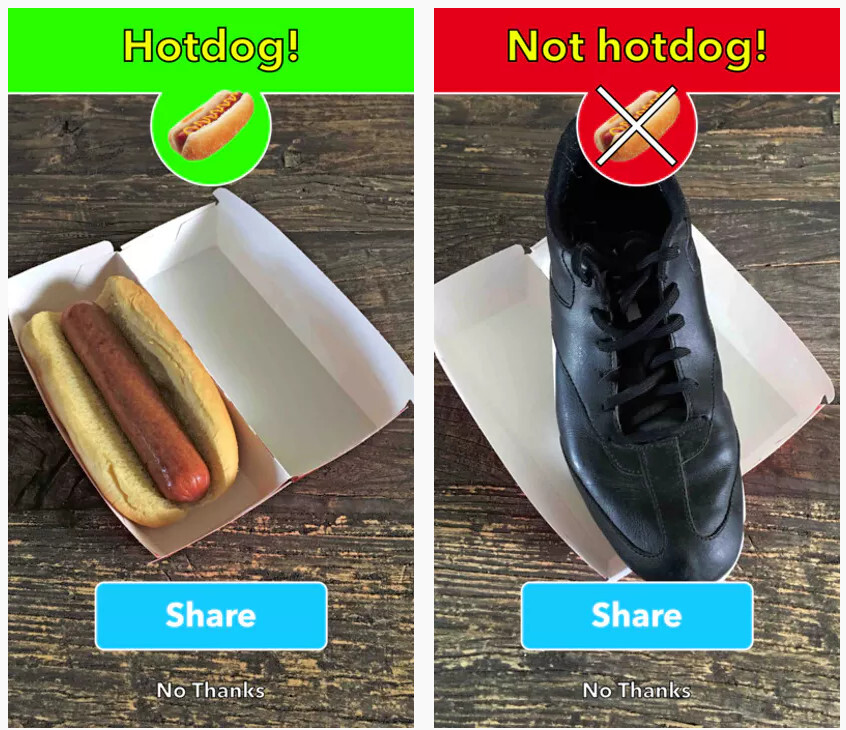
As I try to further my knowledge and skills in AI and ML, I thought it would be interesting to recreate the app that catapulted Jian-Yang to Bloomberg stardom. In the show “Silicon Valley”, the computer geek wannabe comes up with an app that can see food, SeeFood. it’s supposed to be like Shazam for food but the output is always binary: Hot Dog or Not Hot Dog.
Below is how to do it. This is a no-code solution and a great start for anyone looking to delve in the world of Machine Learning.
Step 1: Access Teachable Machine
- Open your browser and go to Teachable Machine.
- Click the “Get Started” button on the homepage.

Step 2: Choose a Project Type
- On the project selection screen, choose the Image Project option.
- This type of project will allow you to use your webcam to take pictures of objects and train a model to recognize them.

- On the pop-up screen, select Standard image model.

Step 3: Set Up Your Classes
Classes are the categories of objects you want your AI model to distinguish between. You’ll need to create a separate class for each object.
- Rename Classes:
- By default, you will see two classes named “Class 1” and “Class 2.” Rename them to the objects you want to classify (e.g., “Pen” and “Cup”).
- If you want to classify more than two objects, click the + Add a Class button to add more categories.
- Examples of objects you can use: pen, book, cup, phone, keys, etc.

Step 4: Collect Image Samples
Now you need to teach the AI by feeding it images of each object.
- Use Your Webcam or Upload image files
- Position the object (e.g., a pen) in front of your webcam.
- Click Hold to Record to take images of the object from different angles and lighting conditions. The more varied your images, the better your model will perform.
- For the upload option, you can upload all the collected images in bulk. The format must be .jpg or .png.
- For each class (object), capture at least 30-50 images to get good training data.
- Repeat for Each Object:
- Move to the next object (e.g., a cup) and repeat the process, making sure to take plenty of images for each category.
- In our example, we need copious amounts of diverse hot dog imagery for the hot dog class. For the not hot dog class, I decided to feed the model an array of very random images including people, Philly Cheesesteaks, Dachsund dogs, male body parts, cucumbers and more.
- The idea behind my image selection is that, other than being random, the most important part is that objects that can look like a hot dog don’t get miscategorized by the model, thus the inclusion of phallic elements and , mode deliberately, the Philly Cheesesteak, which to the untrained eye could resemble a hot dog. But not to this model. Oh no.

Step 5: Train Your Model
- After collecting images for all your objects, click the Train Model button in the middle of the screen.
- Teachable Machine will process the data and train the model. This usually takes only a minute or two.
- You’ll see a progress bar while it’s working.

Step 6: Test Your Model
Once training is complete, you can now test your model.
- Switch to the “Preview” tab to see your model in action.
- Hold each object in front of your webcam.
- The model will try to classify the object in real-time and display the prediction (e.g., “Pen,” “Cup”) with a confidence score.
- Adjust if Needed:
- If the model is struggling to distinguish between objects, try adding more training images or different lighting conditions. You can click Edit Model to return to the training stage and gather more images.
Step 7: Export or Share Your Model
Now that your model is working, you can export or share it.
- Export Options:
- Click on Export Model in the top-right corner.

- Click on Update my model

- Share:
- Teachable Machine gives you a shareable link so others can test your model. You can also download it as a file for local use or further development.
- Teachable Machine gives you a shareable link so others can test your model. You can also download it as a file for local use or further development.

Step 8: Share Results on Social Media
- Once you’ve completed your project, take a video or screenshots of your model classifying objects in real-time and post it on social media.
- Add hashtags like #NoCodeAI or #TeachableMachine to get attention from AI enthusiasts.
- Encourage others to try building their own models by linking back to your tutorial.
🎉Here is my model: https://teachablemachine.withgoogle.com/models/vQ06AyrR9/
🌭The dog Devil is in the details
Like some of you might have noticed, the more diverse images you feed the model, the better it is at identifying objects. I wanted to test specifically if my model would distinguish a Philly Cheesesteak from a hot dog and this proved to be difficult. I fed the model Philly Cheesesteak images in the “Not hot dog” class and the model got better, but I think more images of both classes should typically fix this type of issue.
GitHub: https://github.com/theyarina/hot-dog-not-hot-dog